
On these pages I will try to cover the progress of my restoration, the first major undertaking was the grafting of a replacement front clip and the sill repairs which I have already covered. Here I'll go over the replacement of the radiator duct panel, the cold air vent on the cowl, the front bulkhead, and replacing the left and right front wheel arches with the panels removed from the original front clip. I'll also cover chassis repairs and the suspension rebuild. As work progresses I'll continue to add more information. |

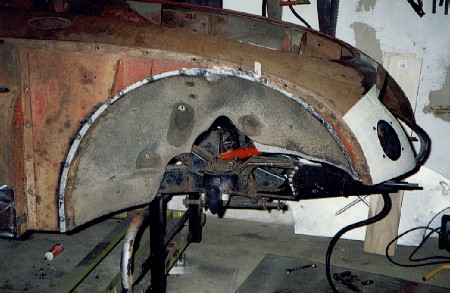
In this photo the RH wheel well and radiator duct panel have been removed. The cowl has had some bondo removed and a little pick 'n file has been done. The well that was removed was a 1500 style, the original was 1600 style which had received some alteration to the area immediately above the shock, which allowed clearance for the remote fluid reservoir line. |
Here the well from the original body has been plug welded in place. A transfer made of multiple layers of masking tape was used to duplicate the size and position of the auxiliary air intakes holes. The tape is applied to the original and a round rattail file is used to shave away the tape from the openings, next, it is pealed off and applied and the outline is scribed. |
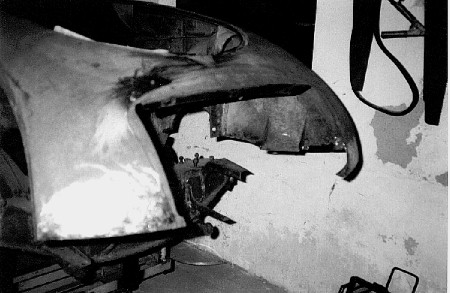
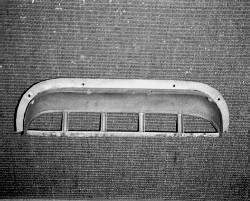
In the shot above you can see a thin strip of the cowl that is in front of the radiator duct panel. In the picture on the left the piece has been cut out. It was just too mangled and split. The replacement piece started as a straight piece of stock with a 90 degree bend, that was heated with a torch and the curvature made with a hammer and dolly. It took forever but finally I had the right shape. |
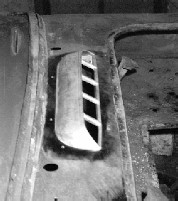
The fresh air intake was removed from the old cowl and the masking tape technique was used to duplicate the position on the replacement nose clip. Just as done originally, four copper rivets were used to hold the piece in position. Finally, lead solder was used to fill the seams as was done originally. |
Front Clip Repairs |