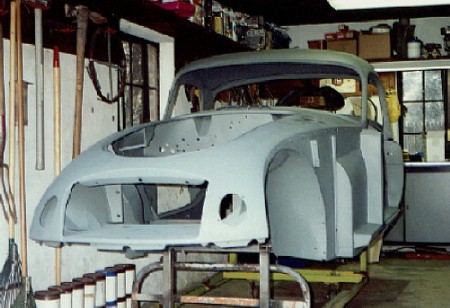
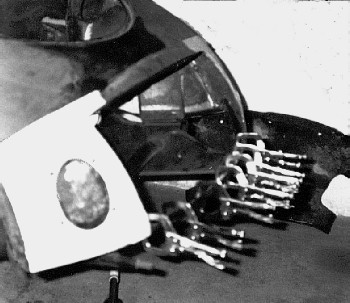
I clamped the new skirt panel that has the kept nuts that are used to attach the stock front valance and used it to hold the new section that I had made for the cowl in place for welding. The old radiator duct panel is lying against the wall. I made a cardboard template of the replacement panel and marked and cut it to fit the nose, I then transferred the shape to the new panel so I could alter it to fit. The body is on the chassis at this point and I had bolted a stock front chassis extension to help locate the new radiator duct panel. In the picture below everything has been welded in place, the skirt panel has been cut away to permit the fitting of the alloy |
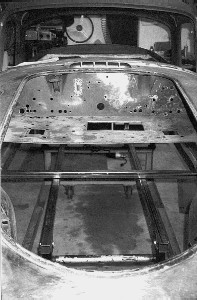
This photo shows the restored bulkhead and cowl vent in place. The body is mounted on a framework made of 2" square tubing which supports the body at the four central mounting points and allowed me to remove it from the chassis and have access to the inside of the sills and the bulkhead areas. All detectable dings were tapped out and a body file used to smooth the surface, then the entire shell was media blasted and sprayed with a Dupont acid etch primer. Final body work is yet to be done and most of the primer will end up being sanded off as that work is completed. There is a lot more work to be done but getting the shell to this point for me was probably the most difficult task of the whole project. I began working on the shell in October of '96 and the picture below was taken in March of '97, I worked a few hours most evenings and did quite a few 8-14 hour sessions on weekends except when it was just too darn cold to be out there. Shortly after finishing the shell I bought a lathe that I restored |
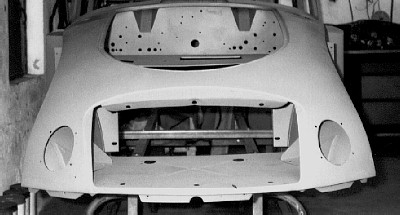
front valance. Some of this piece is cut away to allow clearance for the driving lights. The rear edge of the radiator duct panel was shortened an inch to clear the thicker radiator core. The holes for the oil cooler are clearly visible. |
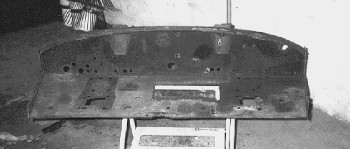
The next job was the bulkhead panel. I had removed this from the original nose so I could rework it. The opening for the battery box was returned to it's original dimension of 4 7/8" wide. This was a pushrod style body on a twin cam chassis so some of the holes in the bulkhead had been relocated to match the chassis. |
and then a small milling machine, both of which consumed a lot of time before I got back to work on the car. I find work tends to progress in fits and starts. It's hard to get going but once you do it's surprising how much progress can be made in a short time. On the next page will be the chassis repair and suspension rebuild. |
