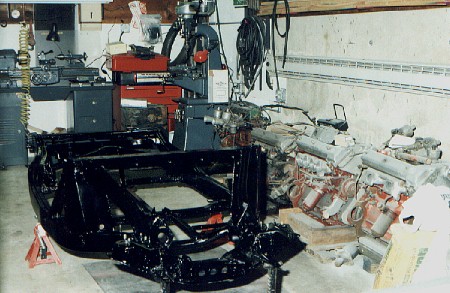
Here is the chassis painted with Dupont Centari enamel with spot hardener, this gives a slightly duller finish than normal hardener. The lathe and milling machine that took up a lot of my time are in the background, and yes, those are some of my Twin Cam engines along the wall but each has a car to go with it. The race engine is at the end of the row just in front of the milling machine.

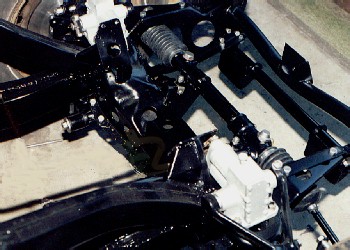
This is the restored front extension sitting face up on the workbench with the quicklift crossmember fitted. The very large lightening hole really shows up. The picture below shows the extension mounted on the chassis along with the rebuilt steering rack, front suspension and shocks. There are two bolts lightly threaded into the tops of the shocks to keep dirt out. these will eventually be replaced with fittings for a rubber hose that runs to the remote reservoir. The shocks are mounted on studs that have been cross drilled and castleated nuts are used. The two outer nuts are safety wired to each other and the two inboard nuts have split pins. In fact all of the nuts used for the suspension are either self locking or castleated with split pins. It was obvious that the competition department intended that none of their cars would ever suffer a failure caused by something coming loose. The sway bar has not been installed yet in this picture
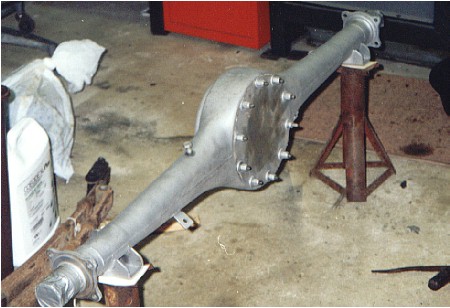
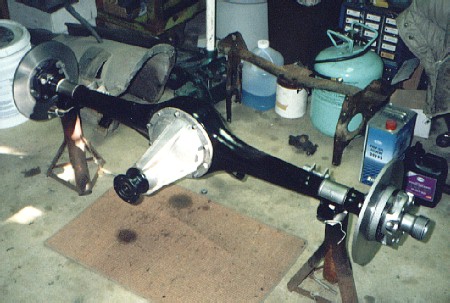
The rear axle was stripped down and a cover plate was made to seal the differential opening, the ends were plugged and taped a bolt threaded into the breather hole then it was bead blasted. Before painting it was washed out with solvent to make sure that no grit had worked it's way inside. Below is the assembled rear axle. I was able to retain all of the original rotors which remained within spec after cutting.